User Management
The User Management menu is used to manage Data Touch users, roles, and access assignments.
The menu contains the following submenus:
- Users
- Roles
Use the Users page to create and manage user accounts and assign roles or permissions. Use the Roles page to create and manage roles that can be assigned to users.
Users
The Users page displays the user accounts configured in Data Touch.
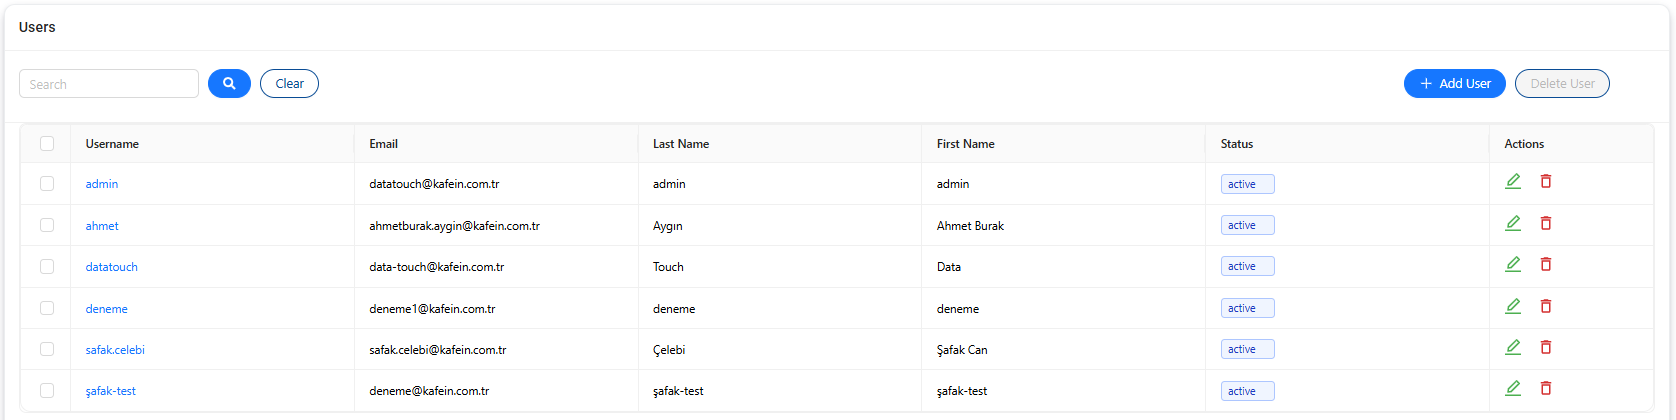
The user list includes the following information:
| Column | Description |
|---|---|
| Username | Username associated with the account. |
| Email address of the user. | |
| Last Name | Last name of the user. |
| First Name | First name of the user. |
| Status | Current status of the user account. |
| Actions | Actions available for managing the user. |
Search for users
Use the Search field to find users in the list.
To search for a user:
- Enter a search value.
- Select the Search button.
Select Clear to reset the search criteria.
Add a user
Select + Add User to open the Add User panel.
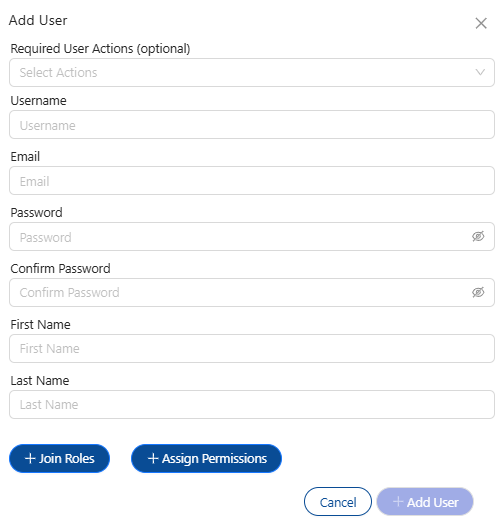
The following fields are available:
| Field | Description |
|---|---|
| Required User Actions (optional) | Specifies additional user actions associated with the account. |
| Username | Specifies the username used by the account. |
| Specifies the user's email address. | |
| Password | Specifies the password for the user account. |
| Confirm Password | Confirms the password entered for the account. |
| First Name | Specifies the user's first name. |
| Last Name | Specifies the user's last name. |
You can also configure the user's access by using:
- + Join Roles
- + Assign Permissions
Assign roles
Select + Join Roles to associate one or more roles with the user.
Roles provide a reusable way to assign access based on the role definitions configured under User Management > Roles.
Assign permissions
Select + Assign Permissions to assign permissions directly to the user.
Use this option when access permissions need to be configured specifically for an individual user.
Create the user
To create a user:
- Configure Required User Actions, if required.
- Enter the Username.
- Enter the Email address.
- Enter the Password.
- Enter the same password in Confirm Password.
- Enter the user's First Name and Last Name.
- Assign roles by selecting + Join Roles, if required.
- Assign permissions by selecting + Assign Permissions, if required.
- Select + Add User.
Select Cancel to close the panel without creating the user.
User actions
The Actions column provides the following operations for each user:
- Edit — Opens the selected user for editing.
- Delete — Deletes the selected user.
Edit a user
Select Edit to modify the selected user's configuration.
Update the required information, and then save the changes.
Delete a user
Select Delete to remove an individual user.
Warning
Verify that the user account is no longer required before deleting it.
Delete multiple users
The checkboxes in the user list allow you to select one or more users.
To delete multiple users:
- Select the checkboxes for the users you want to delete.
- Select Delete User.
The checkbox in the table header can be used to select multiple displayed records.
Warning
Review the selected users before performing a bulk delete operation.
Roles
The Roles page is used to create and manage roles that can be assigned to users.
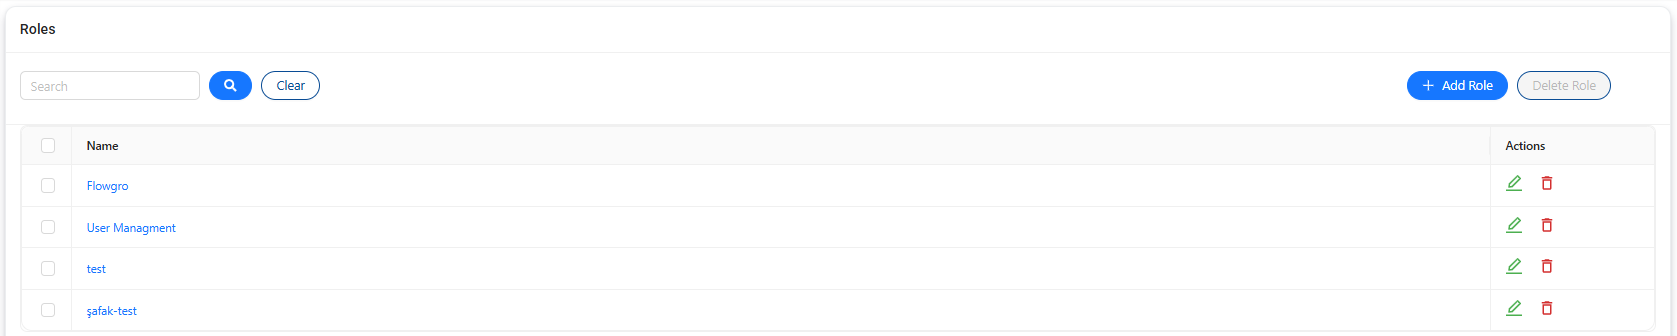
The role list includes the following information:
| Column | Description |
|---|---|
| Name | Name of the role. |
| Actions | Actions available for managing the role. |
Search for roles
Use the Search field to find roles in the list.
To search for a role:
- Enter a search value.
- Select the Search button.
Select Clear to reset the search criteria.
Add a role
Select + Add Role to open the Add Role panel.
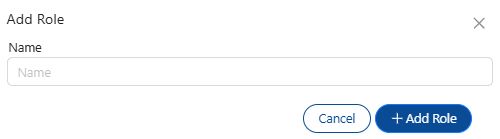
Enter the role name in Name, and then select + Add Role.
Select Cancel to close the panel without creating the role.
Role actions
The Actions column provides the following operations for each role:
- Edit — Modifies the selected role.
- Delete — Deletes the selected role.
Edit a role
Select Edit to modify the selected role.
Update the required information, and then save the changes.
Delete a role
Select Delete to remove an individual role.
Warning
Before deleting a role, verify that it is no longer required for user access assignments.
Delete multiple roles
Use the checkboxes in the role list to select one or more roles.
To delete multiple roles:
- Select the roles you want to delete.
- Select Delete Role.
The checkbox in the table header can be used to select multiple displayed records.
Warning
Review the selected roles before performing a bulk delete operation.